
The Process
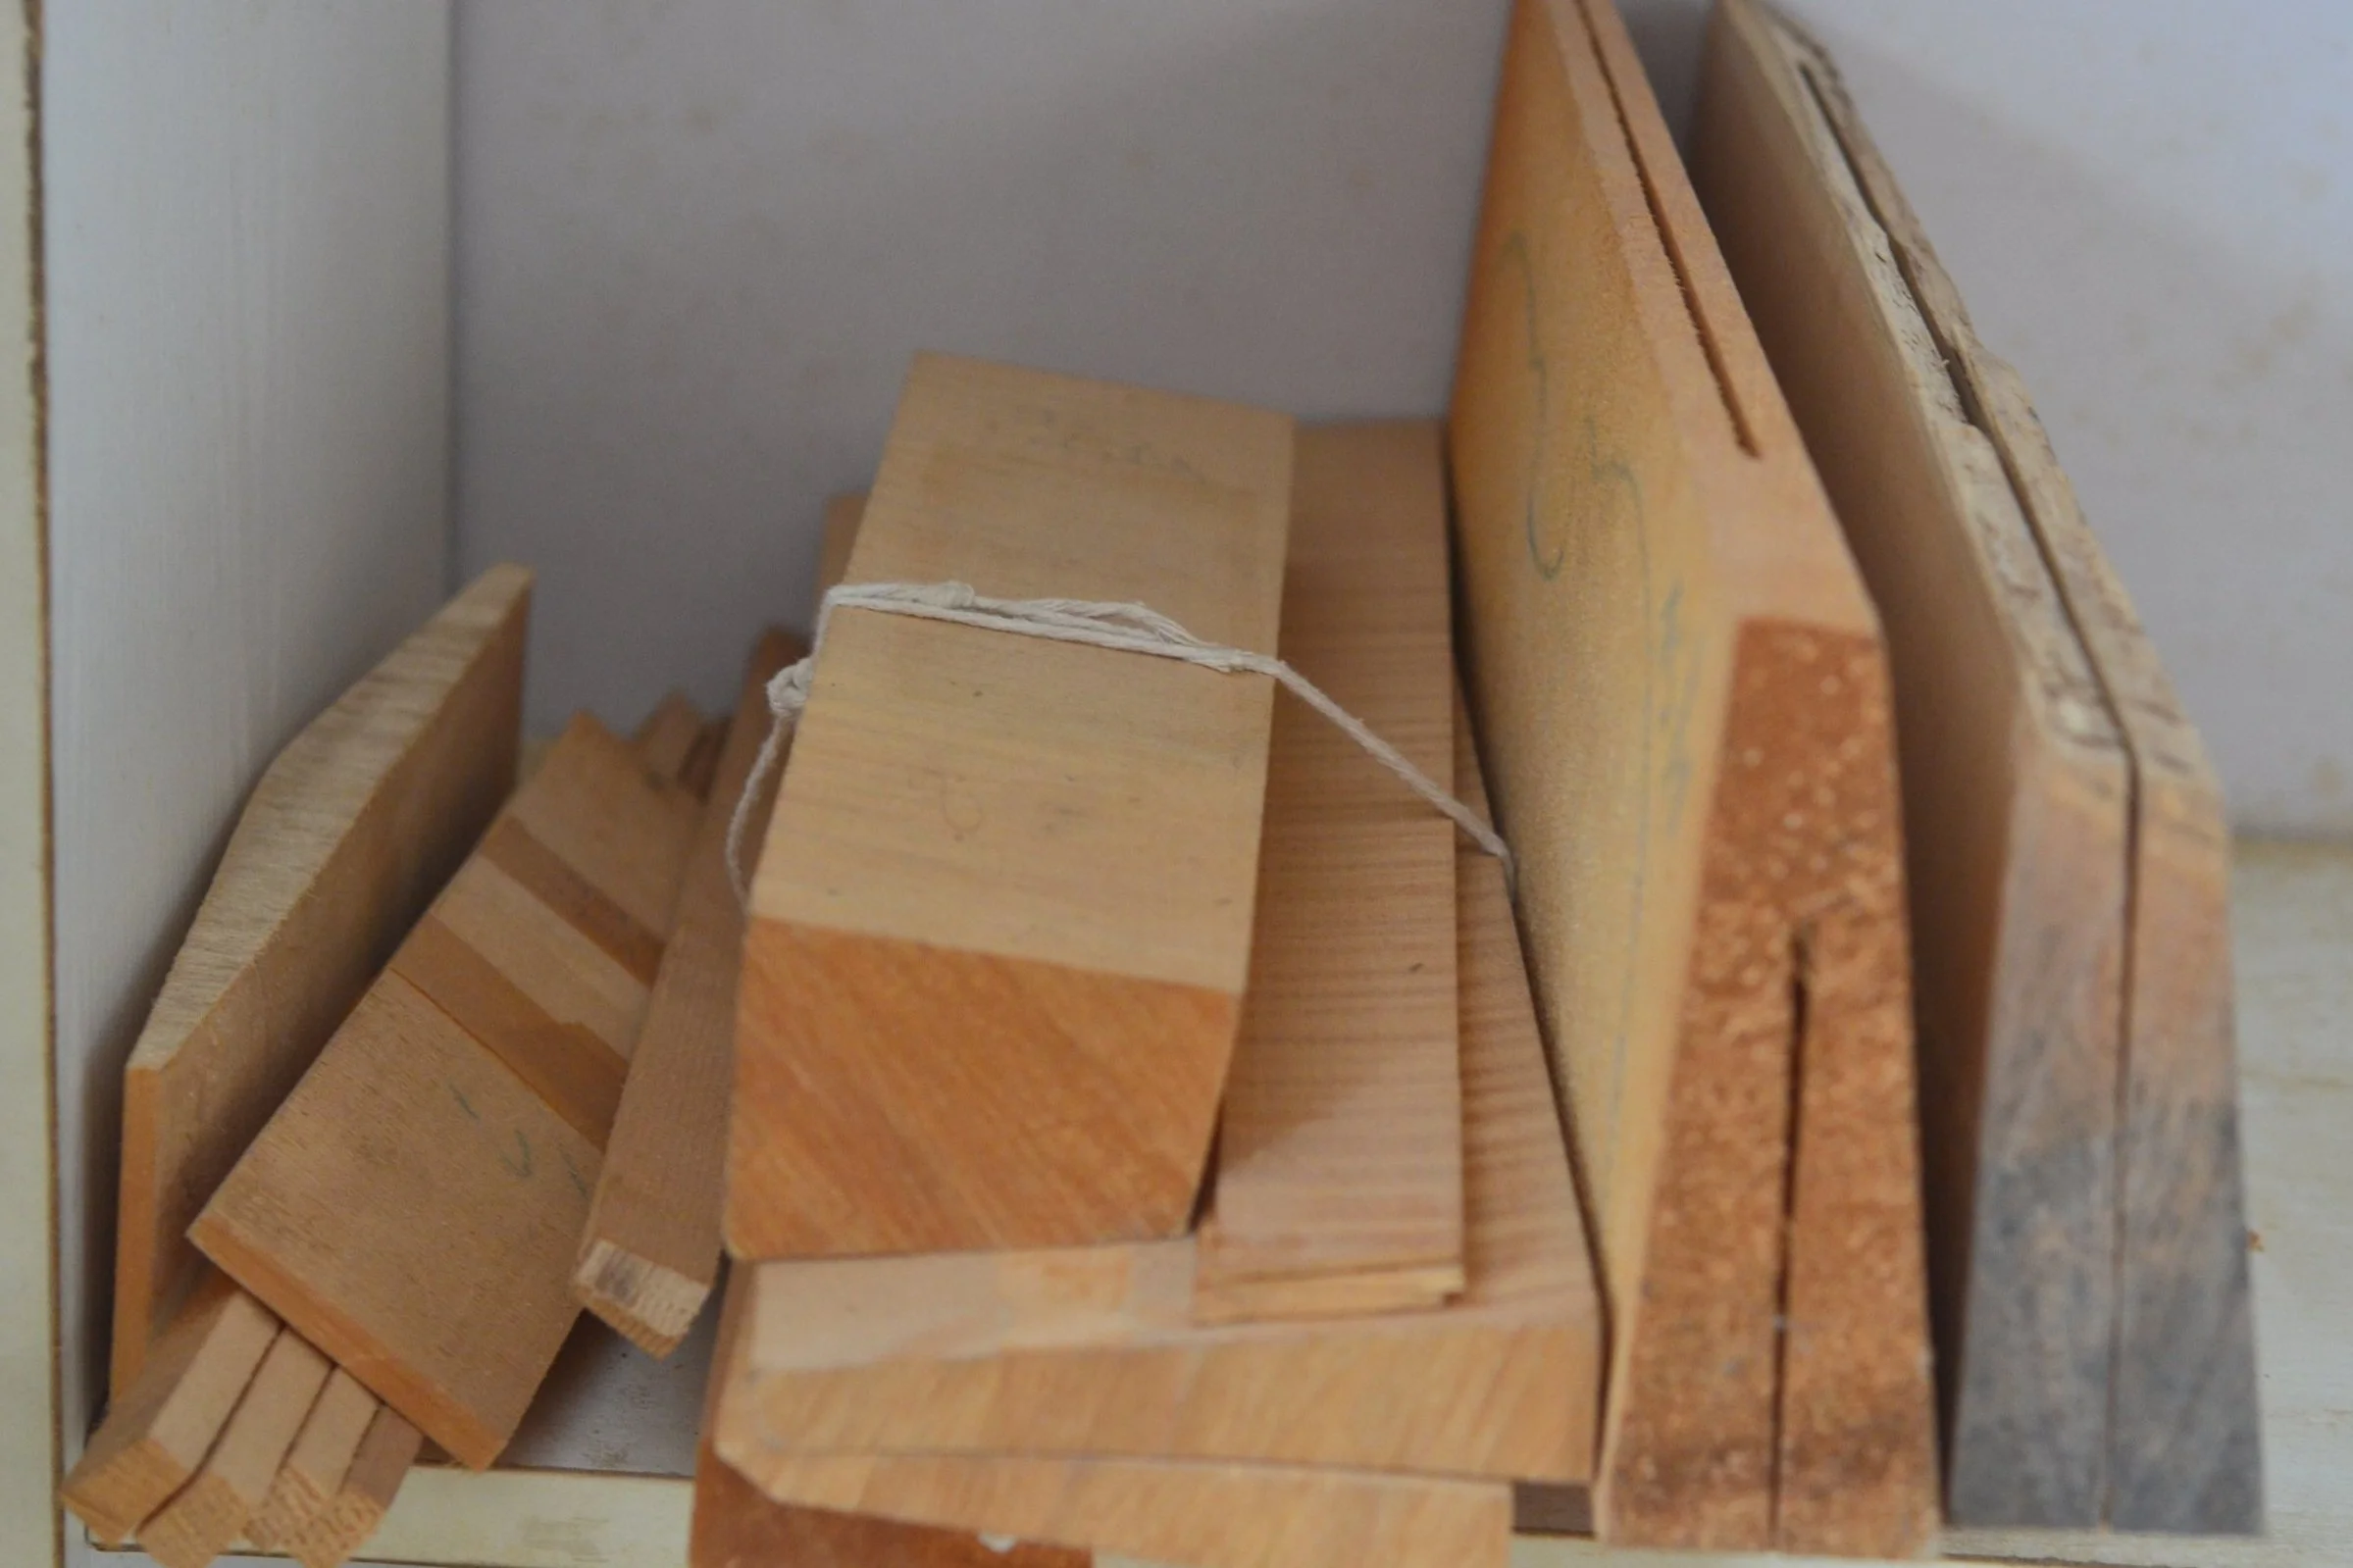
In the first step, wood is selected for ribs, back, top, and neck.
The rib assembly is first constructed by gluing blocks of willow to the mold, and then gluing thin maple ribs on top of them to form the basic structure that will connect the back and top of the instrument’s body.
Thin strips of willow (lining) are glued to the upper part of the rib assembly to provide a wider gluing surface for the back.
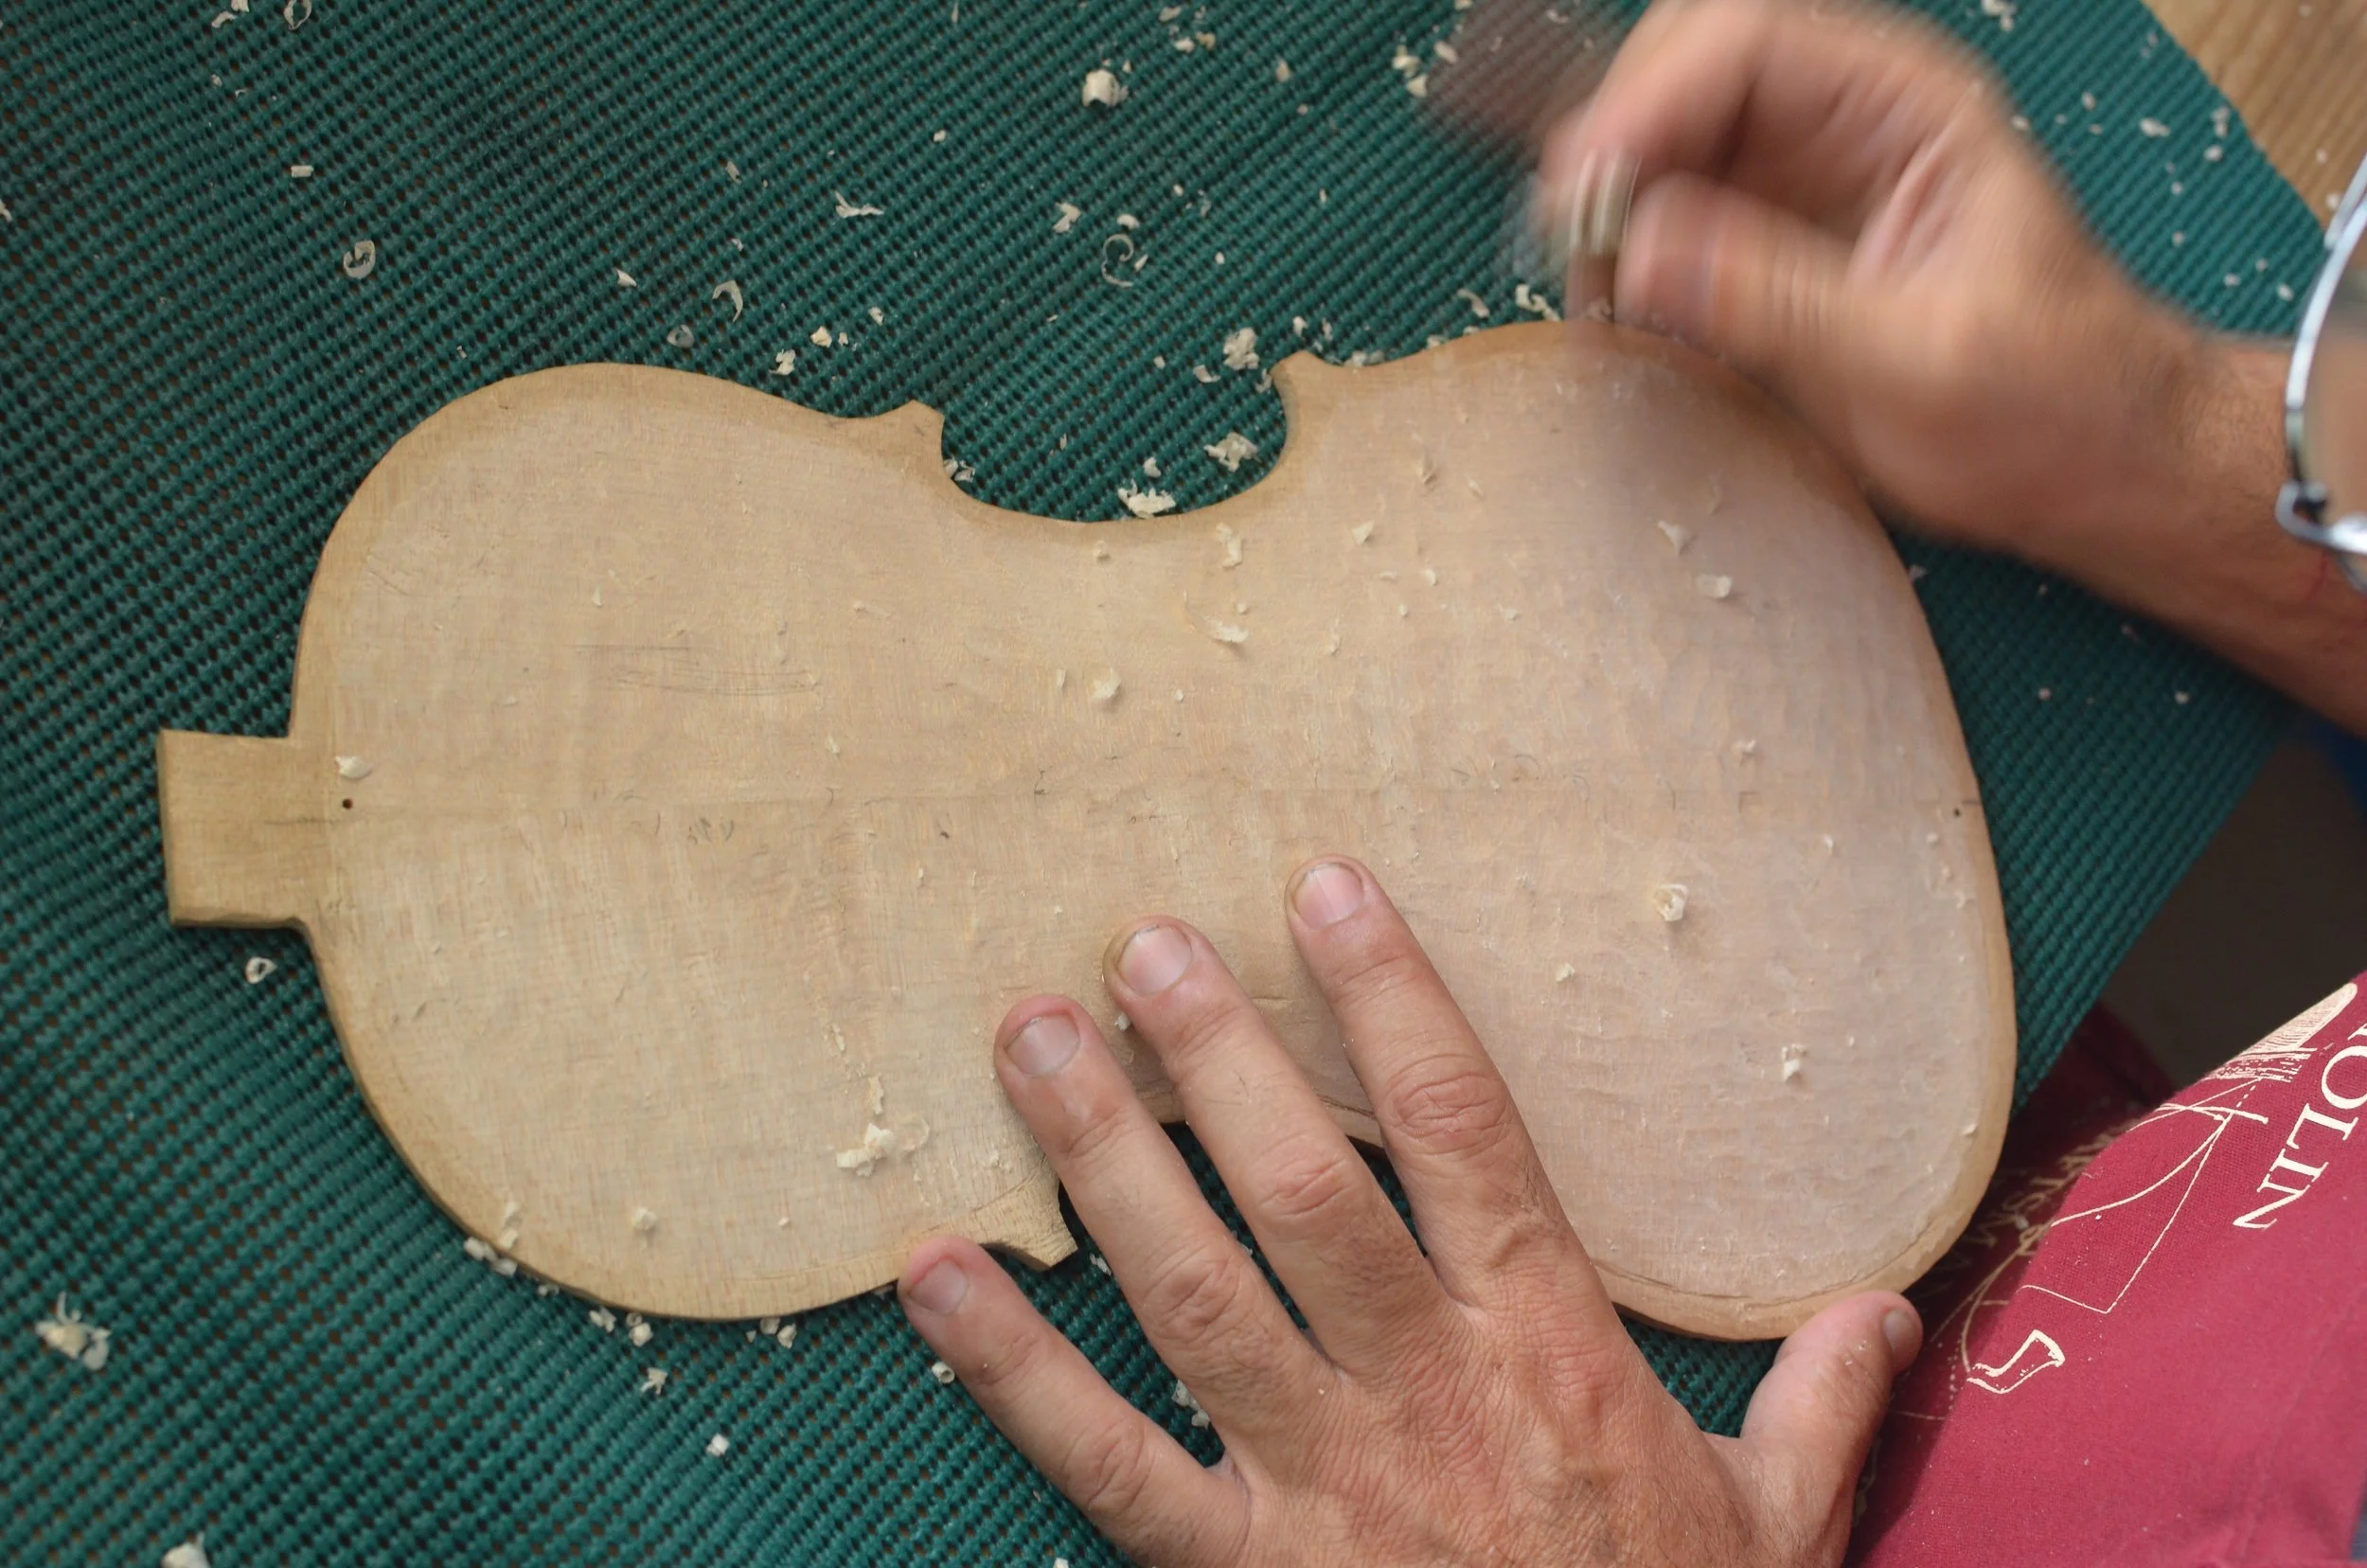
Then, a suitable piece of maple is selected for its appearance and tonal resonance. We split it in two and join the halves at 90 degrees from the split line, to produce the beautifully symmetric and wavy appearance of a violin’s back. The piece is then flattened, and the instrument’s body outline is sawn.
The work then focuses on shaping the arching of the back. This step is of crucial importance, since it affects the back’s response to vibration. Purfling is inserted and sinking is established around the edges, and the back is scraped and smoothed. The back then gets flipped around and hollowed out, with the thickest part in the center bout, gradually becoming thinner in the upper and lower bouts. The back plate is then glued to the rib assembly.
Next, the top plate is fashioned from fine-grain spruce, similarly to the back, but shaped with more pronounced arching along its longitudinal and lateral axes. Once the external part of the top has been shaped and scraped clean, the purfling and the sinking are completed. Then the top plate is hollowed on the inside to a fairly uniform thickness of about three millimeters, which may vary slightly depending on the particular spruce wood used and the shape of the arching. With the utmost care, the f-holes are outlined on the top and then cut with a very sharp knife. The bass bar is then cut to the appropriate dimensions and glued to the top. The bass bar must be properly shaped and fitted, a critically important step, because it affects the flexibility of the top.
When the top plate has been completed, the mold is removed from the rib assembly, which has been attached to the back plate in the meantime. Then strips of willow (lining) are glued to the ribs, opposite to the back plate. Finally, the top plate is glued to the rib assembly, thus completing the resonant cavity of the instrument.
Neck
The neck is fashioned out of a suitable piece of maple, and special attention is given to ensure that the neck is crafted to the correct dimensions, so as not to impact playability. Carving the neck’s scroll is an intricate step, as this is often where the maker can highlight his craftsmanship and artistry.
Throughout the journey of making a violin, joining the neck with the body is probably the task that causes me the most anxiety – the different measurements need to be exact, and the alignments must be precise so that the components fit together correctly.
Varnish
Now the instrument can be prepared for varnish. The varnish will highlight dips and bumps in the wood, so none of these defects should be left behind.
Varnish has two functions: to protect the instrument, and to enhance its tonal qualities. Much has been written about the importance of varnish to an instrument’s sound. In my humble opinion, a good varnish cannot make a poorly built instrument sound good. However, a bad varnish can make a properly built violin sound mediocre.
A superior varnish on a well-built instrument creates magic.
Feedback & Refinement from Accomplished Violinists
I strive to build violins that meet their players’ needs, first and foremost. I regularly solicit input on sound, playability, and aesthetics from professional violinists and accomplished students, incorporating their feedback into the craft.

